
Flexible endoscopes are not single-use devices. After each use, they must undergo a standardized cleaning and disinfection process. Only after being properly processed can they be used again on the next patient. Therefore, the cleaning and disinfection of flexible endoscopes are of critical importance. Any simplification or omission in any step of the process may reduce the effectiveness of disinfection and increase the risk of cross-infection.
For patients and staff new to the field of endoscopy, the complete process of cleaning and disinfecting flexible endoscopes is often not fully understood. This article briefly outlines the eight steps for cleaning and disinfecting flexible endoscopes after use, following the actual sequence of operations.
The Necessity of Cleaning and Disinfecting Flexible Endoscopes
Flexible endoscopes are not simply tubular instruments; they contain multiple slender channels inside, including water and air delivery channels, suction channels, and biopsy channels. The inner diameter of these channels is typically only 2 to 4 millimeters, and their length can exceed 1.5 meters. Within these channels, there are numerous curved sections and connection gaps that are difficult for brushes to reach directly.
After use, mucus, blood, and tissue fragments remain on the inner walls of these channels. If these organic materials are not thoroughly removed, microorganisms can accumulate on the channel walls and form biofilms. Once a biofilm forms, conventional disinfectants struggle to completely eliminate the bacteria within it. This is also the primary source of endoscope-associated infections.
Therefore, endoscope reprocessing must follow a comprehensive procedure: thorough cleaning is essential for effective disinfection, and only with adequate drying can disinfected endoscopes maintain an acceptable condition during storage. Each step is interconnected and none can be omitted.
Cleaning and Disinfection Procedures for Traditional Flexible Endoscopes
Step 1: Pre-processing
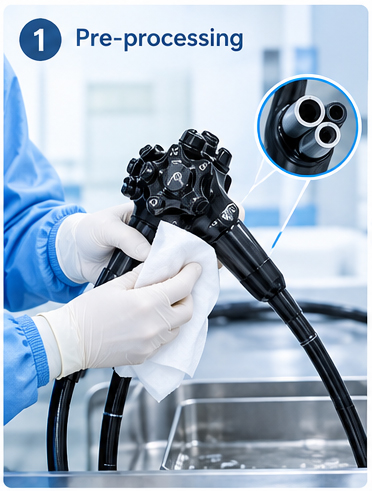
After the endoscope is removed from the patient’s body, the first preprocessing step is performed in the examination room. Wipe the outer surface of the endoscope with a damp gauze pad dipped in cleaning solution. Flush each lumen by repeatedly suctioning, insufflating air, and flushing with water. The purpose is to promptly remove residual secretions and tissue.
Step 2: Sealed Transport
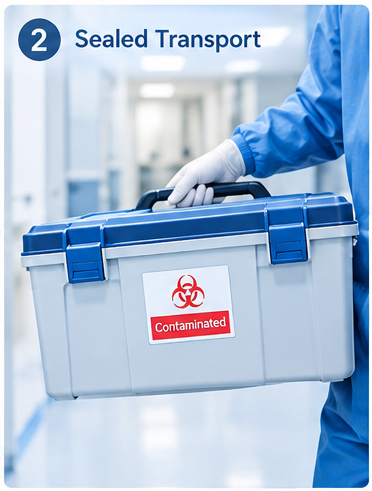
Endoscopes that have undergone pretreatment must be placed in a dedicated, sealed transport container. The container is then labeled as “contaminated” and transported to the endoscope cleaning and disinfection room. The container must remain sealed throughout the entire transport process to prevent contamination of the surrounding environment and other items.
Step 3: Leak Test
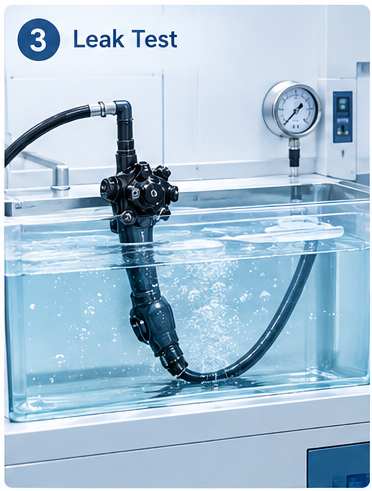
Before an endoscope enters the formal cleaning process, it must undergo a leak test. First, gas is introduced into the endoscope at a specified pressure to detect any leaks.
Purpose of the Leak Test:
1. To prevent liquids from entering the endoscope’s internal lumen during the soaking and cleaning process, which could damage precision components such as optical elements;
2. To prevent endoscopes with existing damage from introducing deeper contamination during soaking. If the leak test reveals any abnormalities, the endoscope must be removed from the cleaning and disinfection process and referred to a professional repair service.
Step 4: Cleaning
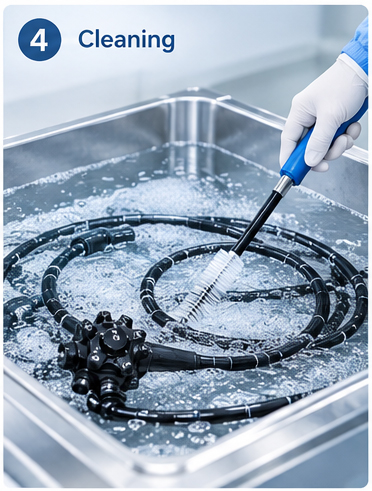
Before proceeding to the disinfection stage, the endoscope must undergo rigorous cleaning. This step is critical to the quality of the entire endoscope reprocessing procedure and typically includes the following operations:
- Completely submerge the endoscope in an enzymatic cleaning solution;
- Use specialized brushes matching the diameter of each lumen to repeatedly scrub all accessible lumen openings and passages;
- Rinse the endoscope’s outer surface and all accessories, such as valves and buttons, with the cleaning solution;
- Maintain the specified soaking time to allow the enzymatic cleaning solution to fully break down organic contaminants such as proteins and fats.
Note: The purpose of enzymatic cleaning solutions is to break down and remove organic contaminants; they do not possess the ability to kill microorganisms. The enzymatic cleaning solution must be replaced after each use and must not be reused.
Step 5: Rinsing
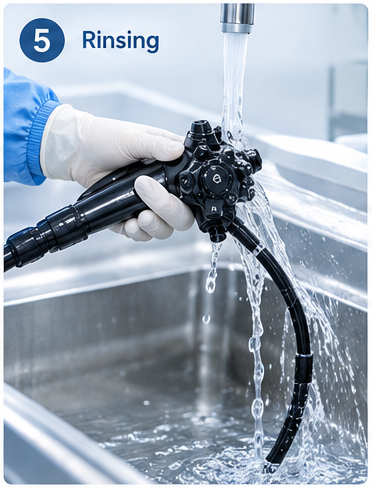
After manual cleaning is complete, the endoscope must be thoroughly rinsed: Rinse the outer surface with running water and repeatedly flush each lumen to remove residual cleaning solution and loosened debris. If rinsing is insufficient, residual cleaning solution may react with the disinfectant used in subsequent steps, thereby compromising the effectiveness of disinfection.
Step 6: Disinfection
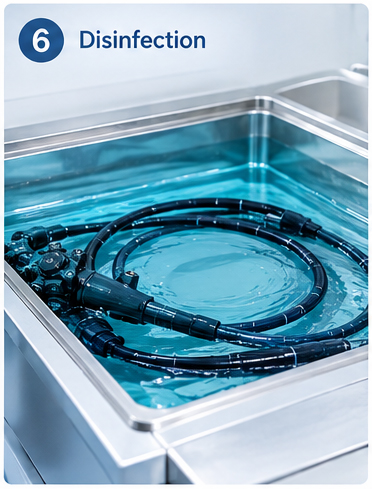
Completely immerse the endoscope in the disinfectant, maintaining the specified concentration and contact time.
Step 7: Final Rinsing and Drying
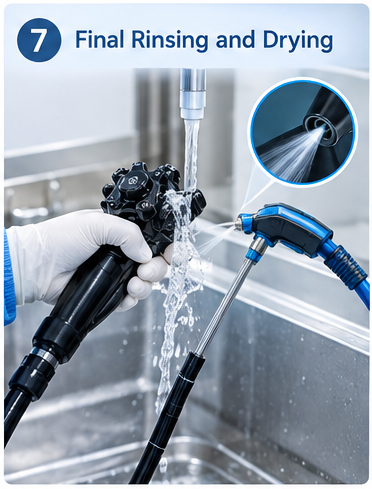
After disinfection is complete, the endoscope must be given a final rinse with sterile water or purified water to remove any residual disinfectant. This is followed by the drying process: flush the lumens with 70% to 90% ethanol to promote moisture evaporation. Then, thoroughly dry all lumens using clean compressed air or a device-based drying program.
Step 8: Storage and Record-Keeping
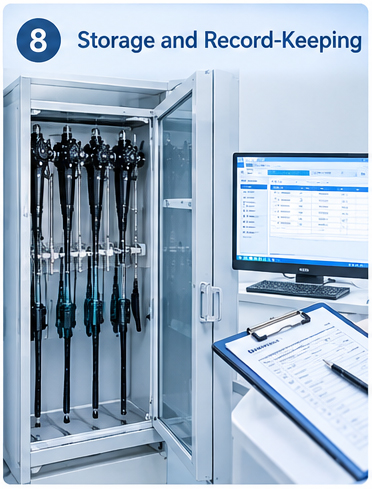
After drying, endoscopes should be hung vertically in a dedicated endoscope storage cabinet and should not be stored coiled. Storage cabinets equipped with ventilation or forced-air drying functions can further reduce the risk of recontamination during storage.
At the same time, records of the cleaning and disinfection process for each endoscope must be maintained, including information such as the operator, cleaning and disinfection equipment, disinfectant lot number, and processing time. When automated cleaning and disinfection equipment is used, these records are typically generated automatically by the equipment. These records also serve as important documentation for healthcare facilities during infection control inspections.
More Convenient Cleaning and Disinfection
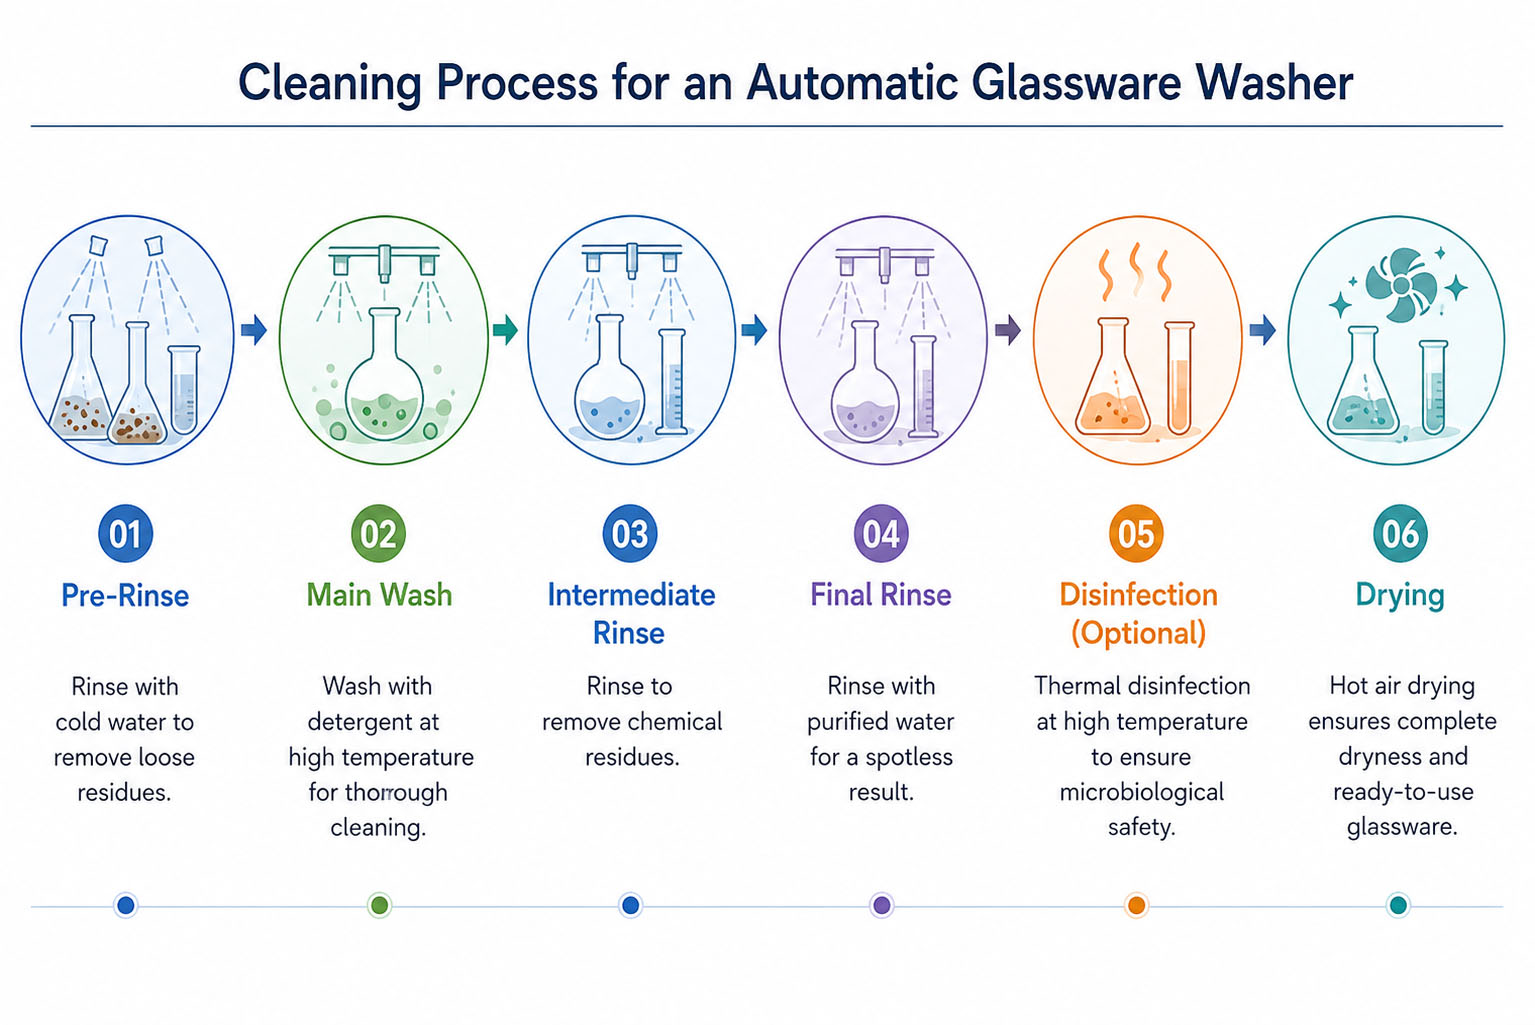
Traditional manual cleaning and disinfection involve multiple steps, including pre-cleaning, scrubbing, rinsing, and disinfection, each of which must be performed in strict accordance with established protocols. Given the complex internal channels of flexible endoscopes, relying solely on manual operations makes it difficult to ensure consistency in every processing cycle.
As a result, an increasing number of medical institutions are adopting professional endoscope disinfector washers. These devices automatically perform key steps—such as leak testing, cleaning, rinsing, and disinfection—according to preset programs, reducing manual labor and enhancing the standardization of the endoscope reprocessing workflow.
Get Social